Tampilkan postingan dengan label Creative Juice:309. Tampilkan semua postingan

Sabtu, 05 Maret 2011

Painted Baby Tee Kurtas

On The Set Of Creative Juice

Get your paint on with this fun and easy traditional Indian design, these Kurta-style tees use dimensional fabric paint to add a little pop to your kids’ wardrobe.  Mix and match colors, use bright and metallic paint for extra flair.


Supplies:
Light colored baby T-shirt (your choice of color)
Lumiere Metallic Acrylic Fabric paint
Fabric ball and brush pens
Dimensional fabric paint by FolkArt
Pencil with an eraser
Wax paper
Iron

Steps:
1. Pre wash and dry the t-shirt to remove any sizing. Place a piece of waxed paper in between the front and back of the t-shirt to prevent the paint from bleeding through.

2. Begin by painting large polkadots according to your design by dipping the eraser end of a pencil into fabric paint and dab it onto the t-shirt. Allow it to dry for 24 hours, then heat set using an iron.

3. Next, Paint any lines using the ball and brush pen, allow to dry, no heat setting necessary.

4. Finally add dimensional highlights with the dimensional paint. Allow to dry.

Chick a Boom Painted Kids Tees


Chick a Boom...
Painted Kids Tees

Adorable painted chicks are the perfect design for these Easter t-shirts. To make perfect circles, use stencils made from shelf liner.

Supplies:
Light colored kids T-shirt (your choice of color)
Fabric ball and brush pens by Marvy
Dimensional fabric paint by FolkArt
4”X4” square of adhesive shelf liner
Flat paintbrush
Wax or parchment paper
Xacto knife & cutting surface
Pen or pencil

Steps:


1. Pre wash and dry the t-shirt to remove any sizing. Place a piece of waxed paper in between the front and back of the t-shirt to prevent the paint from bleeding through.


2. Paint a tree using the paint pens. Just an easy free form squiggle with a branch. Use tape to mark start and stop points.


3. Cut a circle shape with your Xacto knife (any dimension) from the center of the shelf liner square. Remove the backing from the shelf liner and stick the square where you want to paint your chick. The circle is the body of the chick.  Fill in the circle by working from the outside edge going towards the center and be careful around the edges of the circle. Allow it to dry and remove the shelf liner.


4. Use the fabric paint pens to create the legs, beak and feathers. Use the dimensional paint to create an eyeball and tips of feathers. Allow the paint to dry.

Homemade Fruit Smoothie Pops

Homemade Fruit Smoothie Pops

These frozen fruit popsicles are delicious, easy to make and a perfect treat when you need a sweet bite.  I like using frozen berries and milk but you can also use fresh fruit and juice too.  You can recycle the sticks over and over again.  Just wash and dry.  I rubber-band mine and keep them in a kitchen drawer.

Ingredients:
2 cups frozen fruit
1 banana (frozen)
1 cup of milk or juice
Small paper drinking cups

Let's Make:


1. Blend one banana, frozen berries and milk (or juice) in a blender.


2. Pour into small paper drinking cups.

3. Insert popsicle sticks. Freeze until set.

4. Remove cup by running under warm water or simply peeling it off.

Jumat, 04 Maret 2011

Stitch This: Baby Booties pattern

 Handmade Baby Booties

Keep your kids’ feet nice and toasty with incredibly cute, easy-to-make fleece booties.  This project is from the Babies episode of Creative Juice on HGTV & DIY.

Supplies:
Booties pattern - see below
1/4 yard fleece fabric
9 inches 1/4” soft elastic
16” Decorative ribbon
Sewing machine
Matching thread
Scissors & pins

Steps:


1. Pin the pattern in place on the fleece fabric (make sure you place the pattern on the fold of the fabric) and cut around the pattern. Repeat this for the second bootie.


2. Remove the pins and open the booties up, place them right sides down.


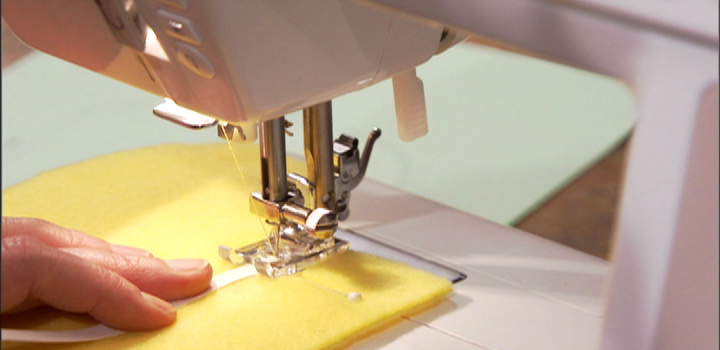
3. Cut the elastic in half (1 piece for each bootie) and following the pattern, sew stretched elastic across the appropriate stitching line, repeat on second bootie.


4. Fold the bootie in half (rights sides together). Cut the ribbon in half (1 piece each bootie) and fold the ribbon in half and pin in the marked spot (see pattern). Pin and sew around the edge with a 1/4-inch seam allowance.


5. Turn right side out and tie the ribbon in a bow. Use your scissors to cut fun fringe at the top of the bootie. Repeat steps 2-4 for the second bootie.

click to download - enlarge or shrink to adjust the size.